
Last updated October 16, 2026
 Wrought iron
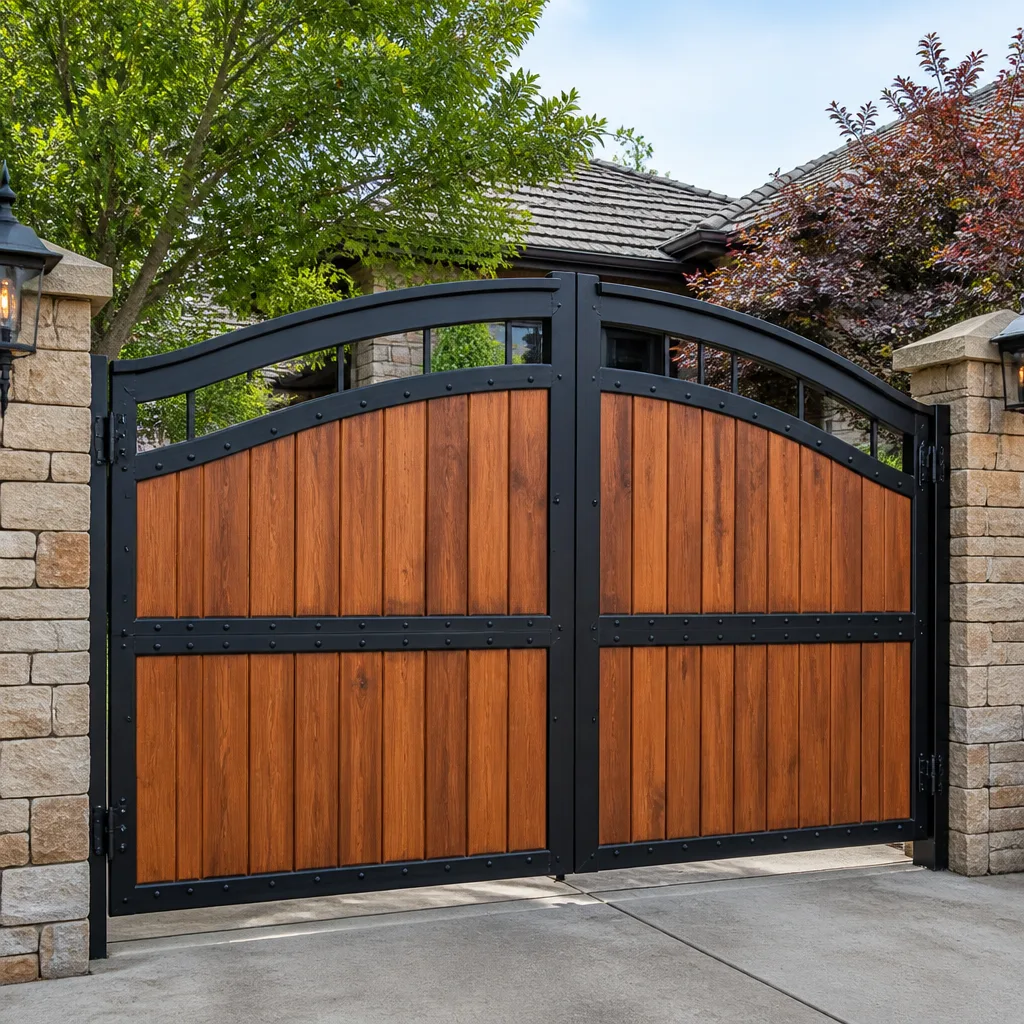 Wood & steel frame
 Farm & ranch
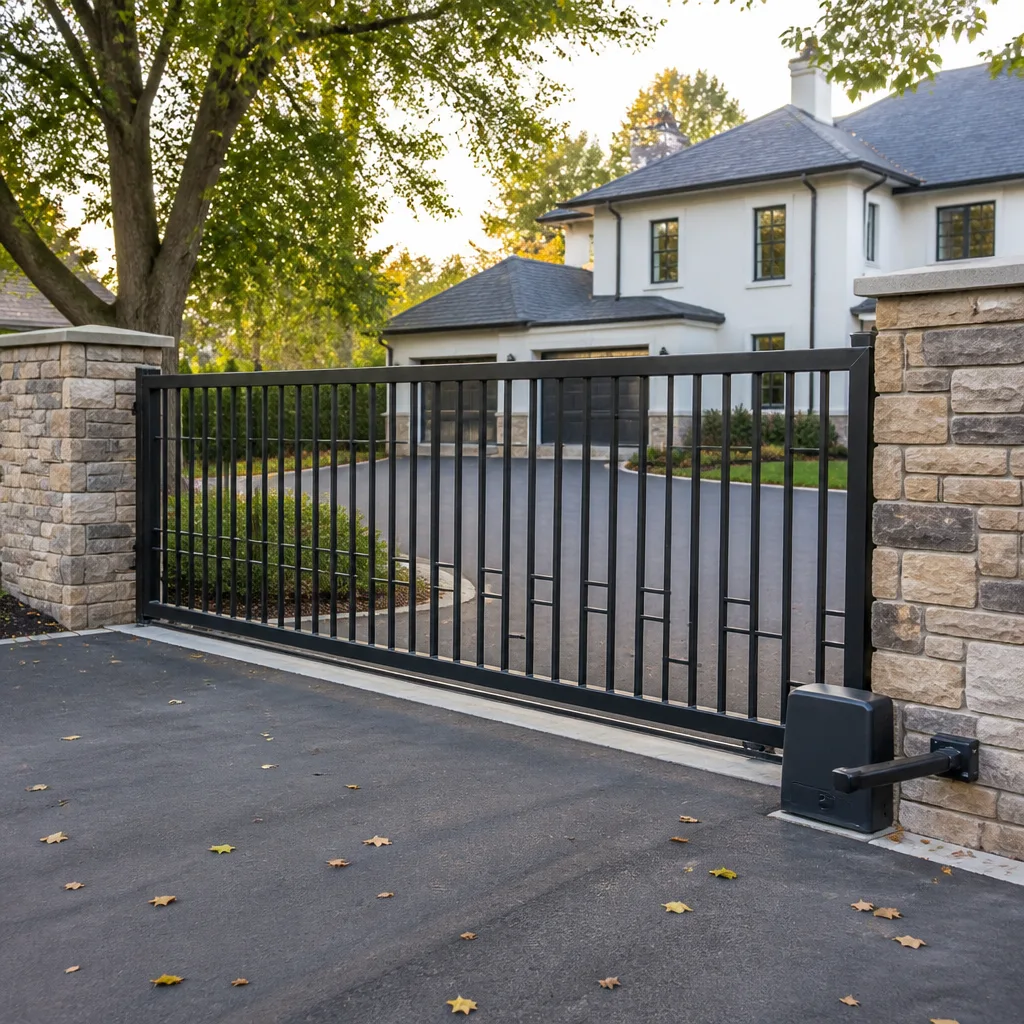 Sliding driveway gates
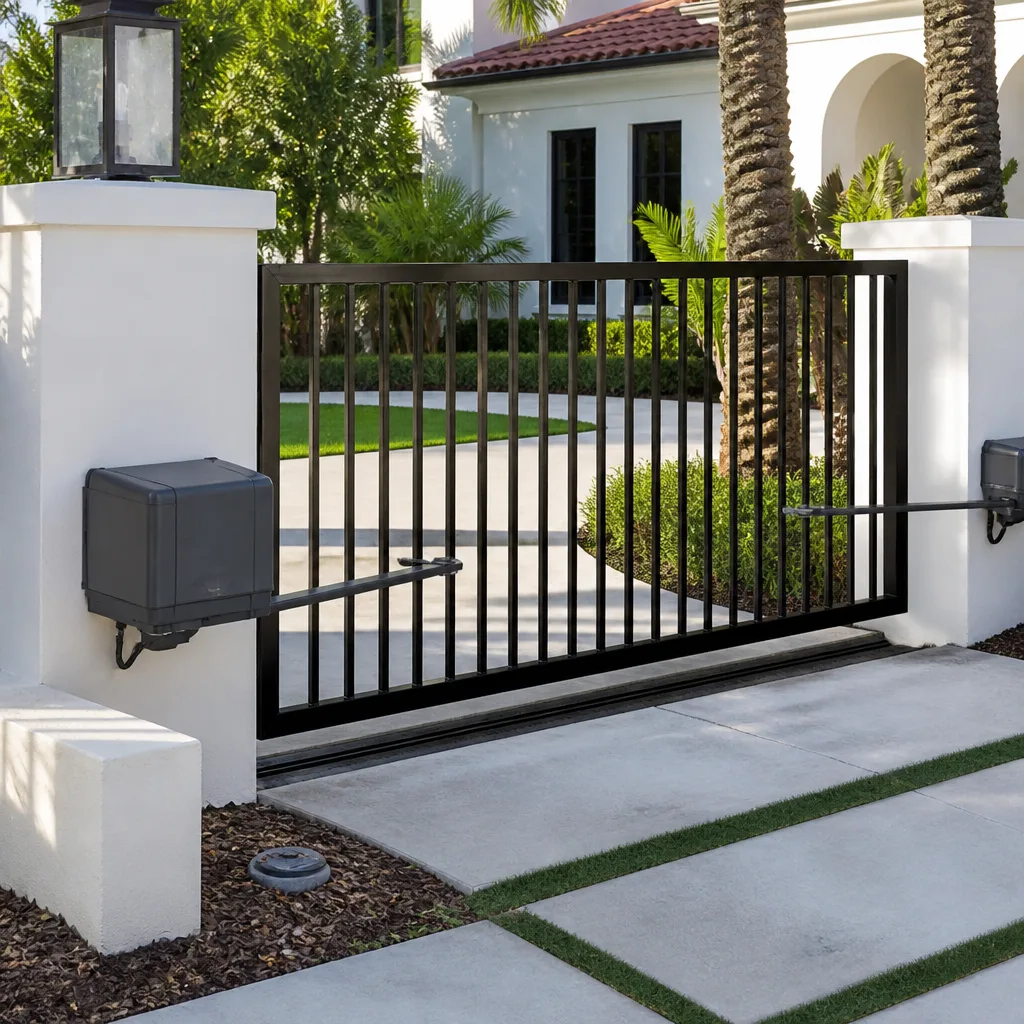 LiftMaster operators
Free on-site gate assessment - hinges, posts, and your LiftMaster or Nice gate operator checked before anything is quoted
The assessment is free and the quote is the invoice.
Get your free estimateDIY vs Professional Gate Repair: The San Diego Homeowner’s Decision Guide
A torsion spring on a slide gate stores enough mechanical energy to break a wrist. It sits on a completely different risk tier than swapping a remote battery. Yet most DIY gate repair articles lump every task together as if tightening a hinge and rewinding a torsion spring demand the same skill level. They don’t. This guide maps actual gate repairs to risk categories, walks through what San Diego homeowners can safely handle themselves, what to approach with serious caution, and when calling a licensed pro is the only defensible choice. We’ll cover real costs, real failure patterns across San Diego’s coastal and inland microclimates, and one question most guides skip: how doing it wrong can affect your homeowner’s insurance.
Styles & brands we work with
Quick Answer
DIY gate repair in San Diego is appropriate for low-risk tasks like remote reprogramming, battery replacement, and light lubrication, but professional repair is the right call for anything involving springs, cables, gate opener circuit boards, or line-voltage electrical work. A wrong move on a torsion spring or 120V feed can cause serious injury and may void your homeowner’s coverage. The practical middle ground for most San Diego homeowners is to handle the safe fixes yourself and call a specialist like Calder Gate Repair San Diego at (619) 541-7844 for everything above that line. For Gate Repair Cost Breakdown: The San Diego Homeowner’s Reference for 2026, see our detailed guide.
Table of Contents
- The Risk Category Matrix: What’s Actually Safe to DIY
- Why San Diego’s Climate Changes the Repair Math
- The Insurance Question: What California Homeowners Need to Know
- The Hidden Cost of DIY Gate Repair Errors
- When YouTube Tutorials Work and When They’re Dangerous
- The Middle Path: Smart Prep Before the Technician Arrives
- Brand-Specific Factors That Change Everything
- Common Mistakes to Avoid
- When to Call a Professional
- Frequently Asked Questions
- The Bottom Line
The Risk Category Matrix: What’s Actually Safe to DIY
Most gate repair tasks fall into three clean categories. The line between them isn’t cost. It’s stored energy and voltage. Here’s the breakdown we use when San Diego homeowners ask us what they should attempt on their own.
Category 1: Safe DIY
These tasks require no special tools, no exposure to stored mechanical energy, and no contact with line voltage. A mistake here costs you time, not fingers.
- Remote reprogramming: Most modern openers from Linear and Ghost Controls use a simple learn-button sequence printed inside the control box cover. If you have the manual, it’s a five-minute job.
- Battery replacement in remotes and keypads: Pop the case, swap the cell, test. The only mistake possible is putting the battery in upside down.
- Minor lubrication: A silicone spray on hinge pins and roller tracks every six months extends hardware life. Avoid WD-40; it attracts dust and gums up over time.
- Track cleaning: Fallen leaves, eucalyptus debris, and sand from coastal wind collect in the track. A stiff brush and a shop vac handle it.
- Photo eye cleaning: A soft cloth on the small lenses keeps the safety beam working. No alignment adjustment needed if you only clean the surface.
Category 2: Proceed with Caution
These jobs feel approachable, and occasionally they are. But each one carries a failure mode that turns a $0 DIY fix into a $300 professional correction.
- Limit switch adjustment: The limit switch is the small sensor that tells the gate when to stop at fully open or fully closed. Adjusting it wrong lets the gate slam into its end stop repeatedly, which bends brackets and stresses the opener gearbox. If you attempt this, mark the original screw position before touching anything.
- Sensor realignment: Photo eye sensors drift out of alignment from gate vibration. Realigning them is mostly patience, but bending the bracket to “make it work” creates a sensor that fails intermittently. That’s worse than a sensor that fails consistently.
- Track lubrication and minor hardware tightening: Fine, as long as you don’t overtighten. Stripping a bolt on a gate hinge is easy to do and annoying to fix. Hand-tight plus a quarter turn is the rule.
- Capacitor replacement on some opener models: A bulging capacitor is easy to spot and easy to order. But capacitors store charge even after power is cut. Discharge it properly or don’t touch it.
Category 3: Professional Only
This is the line we don’t let our own friends cross. These systems hold stored mechanical energy or carry line voltage, and the failure modes include severe laceration, crush injury, and electrical shock.
- Torsion spring replacement: On a slide gate, the torsion spring is wound tight enough to break bones. It requires winding bars and a specific winding sequence. No video makes this safe.
- Cable replacement under tension: When a cable breaks, the remaining hardware is often still loaded. Releasing that tension without the right sequence snaps parts free.
- Circuit board replacement: Boards on LiftMaster, BFT, and Viking openers are static-sensitive and wired to live transformers. One wire in the wrong terminal fries a $400 board.
- Any 120V or 240V electrical work: The feed to the gate opener, the disconnect box, the conduit. No exceptions for confident homeowners.
- Opener motor replacement: Even if you source the right motor, gear mesh alignment and torque calibration determine whether the new motor survives a month or a decade.
If you’re uncertain which category a repair falls into, start with our Gate Repair in San Diego overview for a plain-language breakdown of common failure modes and what they cost to fix properly.
Why San Diego’s Climate Changes the Repair Math
San Diego’s weather is famously forgiving, but it isn’t uniform. Two factors directly affect gate hardware: salt air and marine layer moisture, plus the dry heat of inland valleys. What happens in Chula Vista isn’t what happens in Rancho Bernardo.
Coastal neighborhoods like Point Loma, Ocean Beach, and La Jolla sit in a salt-laden atmosphere. Hinges, springs, and cables corrode faster there than anywhere else in the county. We regularly see gates under five years old with rusted hinge pins and pitted track wheels within a mile of the water. The DIY failure here is treating rust as a cosmetic issue. A lightly rusted spring is still structurally sound; a deeply pitted one is a fracture waiting to happen. Sand from ocean wind also works its way into track rollers and accelerates wear.
Inland areas including Poway, Santee, and El Cajon deal with the opposite problem: fine dust and thermal expansion. Gates expand in 95-degree heat, which changes track alignment over time. A gate that binds in August but rolls fine in January isn’t broken; it’s thermally misaligned. DIY adjustments made during a hot spell go too far when temperatures drop, which is why we see so many “fixed” gates binding again by November.
What this means for the DIY decision: in coastal San Diego, replace rusted hardware earlier than manufacturer schedules suggest. Inland, mark your track position before adjusting anything. And if your gate sits within three miles of the ocean, check spring and cable condition twice a year, not once. Our Gate Repair Maintenance Checklist for San Diego Homeowners has a full seasonal schedule. Salt air failures happen fast and without warning.
The Insurance Question: What California Homeowners Need to Know
This is the part almost every DIY gate repair article skips, and it’s the one that matters most. Here’s how homeowner’s insurance typically responds when a self-performed repair fails and causes damage or injury.
Standard California homeowner’s policies cover sudden and accidental damage, not the consequences of negligent maintenance. If you service your own gate and a spring you reinstalled fails, sending the gate crashing into a car or a person, the insurer will investigate. The first question is whether the repair was performed correctly. If the answer is no and that failure caused the incident, the claim can be denied outright. You’re then personally liable for vehicle damage, medical costs, and in the worst case, a lawsuit.
There’s a second layer. Many Electric Gate Repair in San Diego projects involve opener systems that are subject to UL 325 safety standards. Those standards govern the entrapment protection your gate must have: photo eyes, contact edges, force settings. A professional installs and calibrates to UL 325. A DIY repair that bypasses or misadjusts a contact edge because “the gate kept stopping for no reason” renders the system non-compliant. If an injury occurs, that non-compliance becomes the central fact in any dispute.
Our advice to San Diego homeowners is blunt: if you’re not certain the system still meets UL 325 after your repair, you shouldn’t have done the repair. This is also where manufacturer warranties come in. Opening the control box and rewiring terminals on a Viking or BFT opener almost always voids the remaining warranty. A professional repair through an authorized service channel preserves it. The $150 you save doing it yourself can cost you the $400 board replacement the manufacturer would have covered.
The Hidden Cost of DIY Gate Repair Errors
When people compare DIY to professional gate repair, they usually compare parts cost to service call cost. That’s the wrong comparison. It ignores what happens when the DIY attempt goes sideways, which in our experience happens more than half the time on Category 2 and 3 tasks.
The real cost stack looks like this:
- The failed part: You ordered a generic replacement board for a Ghost Controls opener because it was $60 cheaper than the OEM part. It doesn’t communicate with the existing safety inputs. Now you own a $140 paperweight and still need the $200 OEM board you should have bought first.
- New damage from the attempt: Stripped screw heads, bent brackets, cracked plastic housings from prying with the wrong tool. We see at least one case per week of a DIY attempt that created a second repair need that didn’t exist before.
- The diagnostic fee to undo the work: When a technician arrives after a failed DIY repair, the job takes longer. They have to figure out what was changed, verify it’s wrong, then correct it. That diagnostic time is billable. The $80 YouTube-inspired repair becomes a $380 corrective service call.
- The voided warranty: As covered above, tampering with sealed components ends manufacturer coverage. On a $600 opener board or a $900 motor, that’s real money.
- The time cost: This one is less obvious but real for San Diego homeowners. A gate repair that takes a professional 90 minutes takes a first-timer six to eight hours across two weekends, including research, part ordering, the repair, and the do-over. For phone-first homeowners in their 30s and 40s with jobs and kids, that time has a value.
None of this means DIY never makes sense. It means the honest comparison is total expected cost, not the receipt from the hardware store. For more on what a properly executed repair actually costs in San Diego, see our Gate Opener Repair in San Diego page.
When YouTube Tutorials Work and When They’re Dangerous
YouTube is the first stop for almost every DIY project, and for Category 1 tasks it’s genuinely useful. Watching someone reprogram a Linear remote in real time is better than reading the manual. But for gate repair specifically, there’s a structural problem with YouTube that most people don’t notice.
The problem is universality. A video titled “How to Adjust Your Gate Limit Switch” might be filmed on a Mighty Mule opener from 2016, while yours is a BFT Deimos from 2021. The components look similar enough, but the wire colors, terminal positions, and adjustment sequence are entirely different. Following a “universal” tutorial on the wrong model is how boards get fried. Professional technicians don’t have this issue because they’ve been trained across brands and can identify what they’re looking at. The reason Calder Gate Repair technicians are factory-familiar with nine major brands is precisely this: every brand has its own wiring conventions, and mixing them up is an expensive mistake.
When a YouTube tutorial is trustworthy:
- The video shows your exact brand and model, or at least the same brand family. “Walk-through for LiftMaster LA400” is fine. “Walk-through for gate opener, generic” is not.
- The task is Category 1. Reprogramming, battery replacement, basic cleaning. Nothing with springs, cables, or line voltage.
- The creator demonstrates the safety step first. Power disconnected, control box opened with a voltage tester in view, spring tension acknowledged. If the creator skips the safety preamble, they don’t understand the system well enough to teach it.
When to close the video:
- The opener model is different from yours, even slightly. A LiftMaster LA400 and LA400K share a housing but not a full wiring diagram.
- The task involves spring winding or cable tension. No video communicates the tactile feel of a loaded spring. That feel is the difference between a successful repair and a hospital visit.
- The creator says “this is the same on all brands.” It isn’t. That sentence is a red flag about everything else in the video.
The Middle Path: Smart Prep Before the Technician Arrives
There’s a third option between full DIY and passive waiting, and it’s the one most San Diego homeowners should choose. You handle the safe diagnostics and prep work yourself, which reduces billable diagnostic time, then hand the actual repair to a professional. Here’s the sequence we recommend.
Step 1: Document the symptom precisely. “Gate won’t open” isn’t useful. “Gate opens halfway, hums for three seconds, then reverses” is. Note when it started, whether it happens consistently, and any unusual sounds. Write it down. This alone can save 30 minutes of diagnostic time.
Step 2: Do the safe visual inspection. Look at the track for debris. Check visible hinges and bolts for looseness. Check the photo eyes for spider webs or dirt. Look at the control board for the status light pattern. Most modern openers like those from BFT and Ghost Controls flash a diagnostic code that tells the technician exactly what the board thinks is wrong.
Step 3: Test the simple things. Fresh batteries in the remote. The keypad works. The wall button works. If the remote fails but the wall button opens the gate, the problem is the remote, not the opener. That’s a two-minute diagnosis that saves real time.
Step 4: Call with your findings ready. When you reach Calder Gate Repair San Diego at (619) 541-7844, a live person answers, 24/7. Tell them the symptom, the diagnostic code if you found one, and what you’ve already tested. Every repair comes with a written price before any work starts, so nothing about the call puts you on the hook.
Step 5: Don’t touch anything beyond Step 3. The moment you’re tempted to open the control box’s sealed section or adjust a limit screw, you’ve crossed the risk line. Your prep work is done. Let the technician take it from there.
This middle path gets you the best of both worlds: you’re informed and prepared, and the billable time reflects a clean handoff rather than a corrective excavation. The alternative is what we see too often: a well-intentioned homeowner who watched the wrong video for the wrong brand, made it worse, and pays more than if they’d just called first.
Brand-Specific Factors That Change Everything
Not all gate opener brands are equally DIY-friendly. This section covers the four brands we referenced earlier and what their design language means for the homeowner with a screwdriver and a phone.
Linear
Linear openers are the most common in San Diego residential communities, partly because they’re specified by many HOAs. Their control boards are among the more accessible to work on, with clearly labeled terminals and a large reference chart inside the cover. That said, Linear boards are sensitive to power surges, which matter in San Diego’s inland areas during monsoon-season lightning events. A homeowner can safely reprogram a Linear remote. They should not attempt a board swap on a Linear opener unless the board was professionally diagnosed first.
BFT
BFT is an Italian brand, common on higher-end residential and small commercial gates in San Diego. The hardware is quality, but the wiring conventions differ from American brands in ways that confuse first-timers. BFT boards use a different terminal labeling scheme, and their diagnostic codes assume familiarity with European manuals. If you have a BFT opener, Category 1 DIY still applies, but even the training videos require care. Mixing up BFT’s terminal functions on a wiring attempt is one of the most common causes of fried boards we see.
Viking
Viking makes heavy-duty openers found on larger residential gates and light commercial properties. Their systems often run on higher voltage than typical residential openers, which automatically moves more of the repair menu into Category 3. Viking also uses sealed control enclosures on many models. Opening those enclosures to “take a quick look” breaks the seal and can void your warranty. If you own a Viking, the DIY list is shorter: remote programming, battery swaps, photo eye cleaning. Everything else is a professional call.
Ghost Controls
Ghost Controls is the most DIY-friendly brand on this list by design. The company markets directly to homeowners, and their support materials are written for non-technical users. That accessibility creates a false sense of transferability: what’s easy on a Ghost Controls opener is not necessarily easy on another brand. Also, many Ghost Controls gates are solar-powered, which introduces batteries and charge controllers into the system. A homeowner comfortable with battery maintenance can handle that part. A homeowner who opens the charge controller to rewire it has crossed a line.
For authoritative, brand-specific repair coverage in San Diego, start at our Calder Gate Repair San Diego home page.
Common Mistakes to Avoid
- Using WD-40 on hinges and tracks. It’s a water displacer, not a lubricant. It attracts dust, dries out, and leaves a gummy residue that grinds down track wheels. Use silicone spray or white lithium grease instead.
- Overtightening hinge bolts. A gate hinge needs clearance to swing. Cranking the bolts down until they don’t move binds the gate and stresses the opener motor. Hand-tight plus a quarter turn.
- Ignoring the diagnostic code light. Most modern openers in San Diego flash a specific error code when something fails. Homeowners often reset the breaker to clear the code, erasing the one clue that would have made diagnosis instant. Read the code, write it down, then reset if needed.
- Replacing parts before testing the simple ones. Plenty of $40 remote batteries get replaced with $200 control boards because no one tested the remote first. Test the cheap stuff first.
- Buying generic parts to save a few dollars. A no-name safety edge for a BFT opener may not communicate properly with the control board. The gate won’t reverse when it should. That’s an entrapment hazard, not a savings win.
- Adjusting force settings to fix a binding gate. When a gate binds and the opener trips, the correct fix is resolving the bind. Cranking the force setting higher makes the gate push through the obstruction, which turns a misalignment into a motor failure. It’s also a UL 325 compliance issue.
- Painting over gate hardware without masking moving parts. Paint on track wheels, hinges, or the photo eye lenses creates friction and blinds the safety sensors. If you’re repainting a gate in a coastal neighborhood like Ocean Beach for corrosion protection, mask every functional surface first.
When to Call a Professional
Call a professional when the repair involves torsion springs, cables under tension, circuit board replacement, any line-voltage wiring, or any task where you’re not confident the final result will meet UL 325 safety standards. Also call when your opener is under manufacturer warranty and the repair would require opening a sealed component. And call when you’ve already attempted a fix and the gate still isn’t working: the correction will cost less if the technician isn’t also reverse-engineering your changes. Calder Gate Repair San Diego offers free estimates across San Diego County and a written price before any work begins. Reach us at (619) 541-7844.
Frequently Asked Questions
For Category 1 tasks like remote reprogramming or battery replacement, DIY saves you a full service call, which in San Diego typically runs $75 to $150. For Category 2 and 3 work, DIY often costs more than professional repair once failed parts, corrective diagnostic time, and voided warranties are counted. The savings only hold when the repair stays inside Category 1.
Technically yes, practically no for most San Diego homeowners. Boards are static-sensitive, wired to live transformers, and brand-specific in their terminal layouts. A mistake can fry the new $200 to $400 board instantly. Unless you work on electronics regularly and have your exact model’s wiring diagram, this belongs in Category 3.
Torsion spring replacement or adjustment. A wound torsion spring on a slide gate stores enough mechanical energy to shatter bone. The winding bars required, the specific winding sequence, and the feel of correct tension cannot be learned from a video. This is the one repair where we tell even mechanically confident homeowners to step away.
Yes. Salt-laden air within about three miles of the coast corrodes springs, cables, and hinge hardware noticeably faster than inland conditions. Homes in Point Loma, La Jolla, and Ocean Beach should inspect their gate hardware twice a year and replace rusted springs or cables before they fail, not after. Call (619) 541-7844 for a free estimate on a maintenance inspection.
Not automatically. The insurance question is about the repair’s correctness and whether it contributed to a later loss. A correctly performed minor DIY task is irrelevant to the policy. A incorrectly performed repair that leads to property damage or injury gives the insurer grounds to deny the claim and potentially the policy. The risk isn’t the act of DIY; it’s DIY on systems you don’t fully understand.
Test the remote with fresh batteries, test the wall button, check the photo eyes for dirt or misalignment, and look for the diagnostic code light on the control board. Having this information ready before you call Calder Gate Repair San Diego at (619) 541-7844 shortens the diagnostic process and gets your gate fixed faster. Every call is answered by a live person, 24/7, not a voicemail.
The Bottom Line
DIY gate repair isn’t one thing. It’s a spectrum that runs from genuinely safe five-minute tasks to stored-energy hazards that can break bones and void your insurance. The San Diego homeowner’s job is to honestly map each repair to its risk category, factoring in coastal salt air, inland heat, brand-specific quirks, and UL 325 compliance. For more guides & resources, visit our blog. When in doubt, the prep work matters more than the repair itself: document the symptom, test the simple things, and hand a clean diagnostic picture to a professional. Calder Gate Repair San Diego backs every repair with the 365-Day Done Right Promise, a written price before work starts, and a free second visit if the repair fails. That’s the standard we think every San Diego homeowner should hold us to, and it’s the standard that makes the professional call worth it.
Written by Nico Alvarez, Owner at Calder Gate Repair San Diego, serving San Diego since 2009.
See the difference
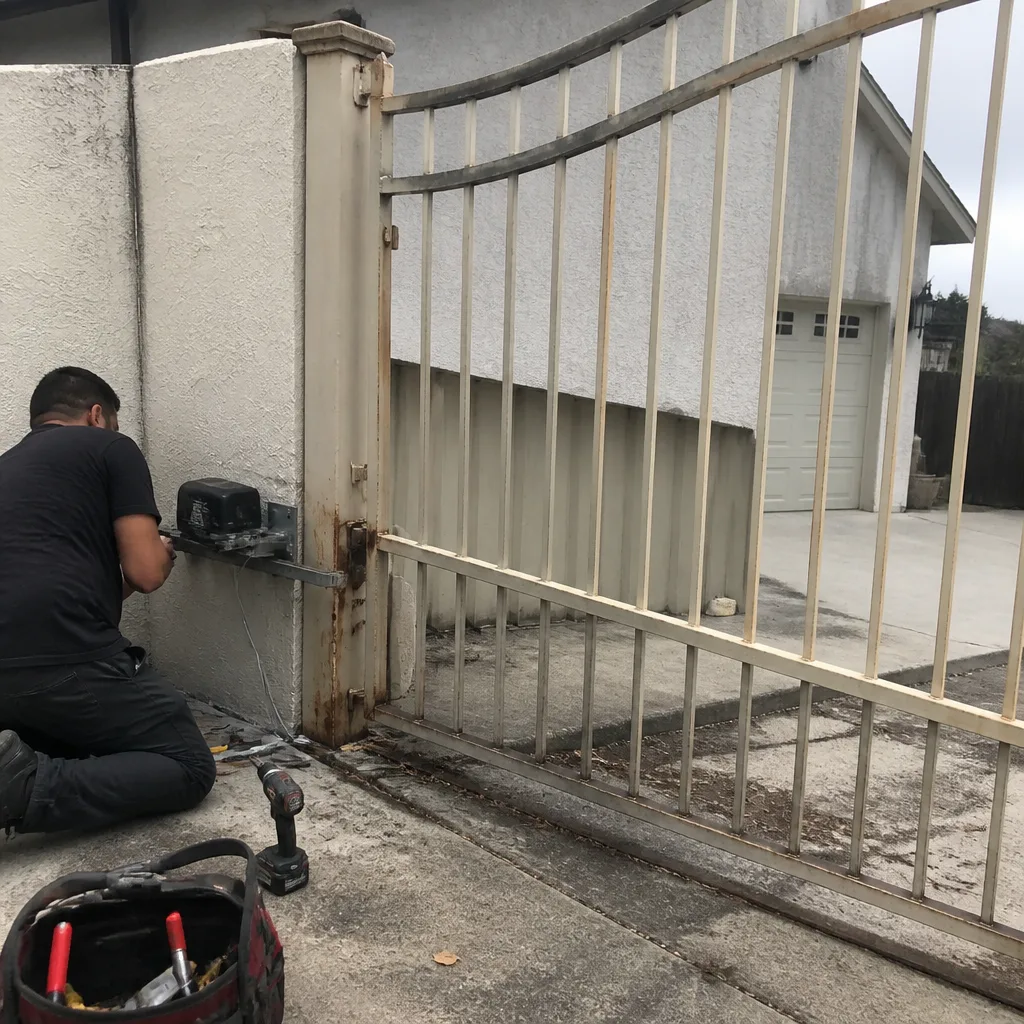 Before
 After
After Before
 After
After Before
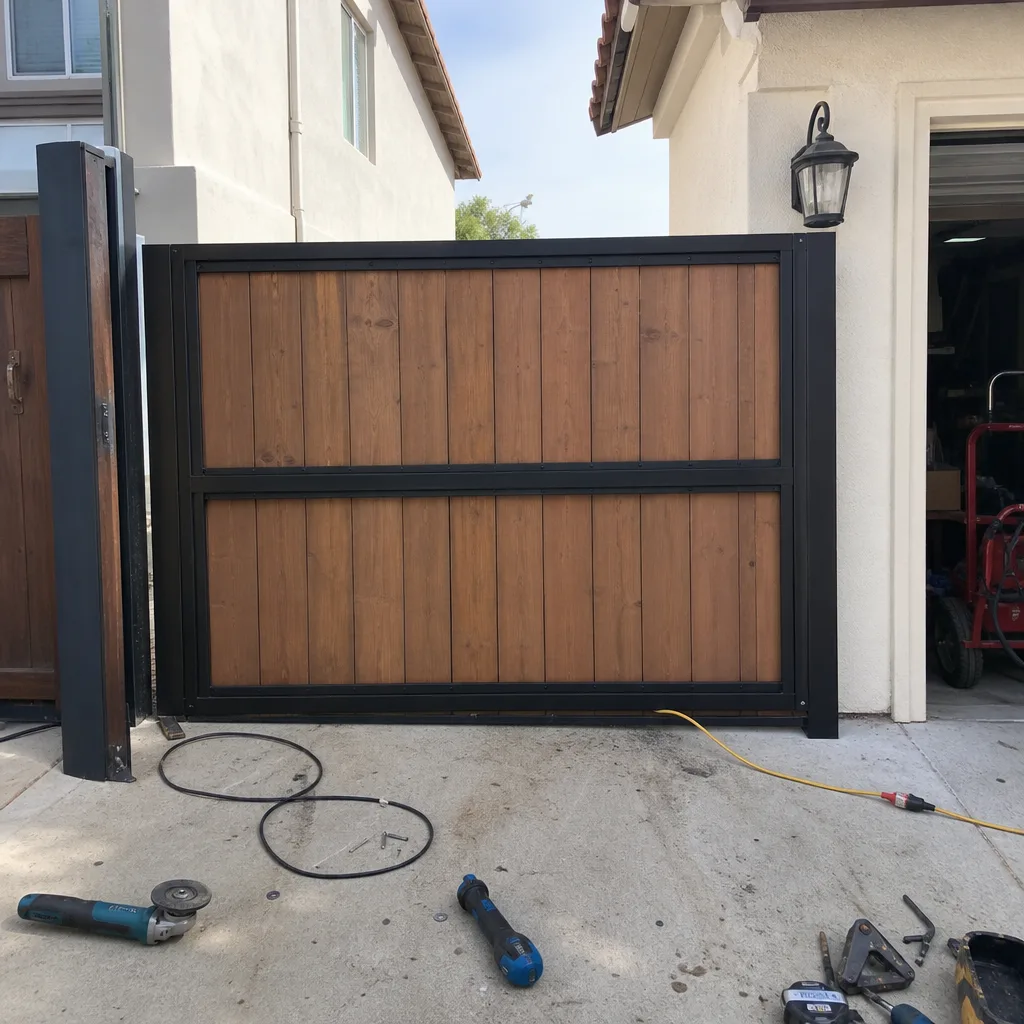 After
After